
It should be no secret that I’m a big fan of the Veeam Hardened Repository. While I never spent much time deploying the VHR from scratch, the VHR ISO in particular has interested me due to the ease of deployment, and with Veeam’s dedication to making this a turn-key solution, it’s hard to justify using a repository in most cases that doesn’t have immutability from the start. As Veeam released VBR v13 a few weeks/month ago, it’s well beyond time to post the step-by-step instructions for deploying the VHR after my Three Part Post for the “v2” version of the VHR deployment as now using the VIA ISO for the VHR does change the process somewhat, especially if using a physical server, especially when creating a network bond.
When it comes to the physical hardware, I really like using Dell PowerEdge servers in this role (though HPE, Lenovo and SuperMicro make fine servers as well). I’ve also heard of folks using Dell Precision Workstations and have witnessed competitors using Optiplex desktops for Veeam servers, but I personally prefer letting servers do server things and putting the best, reliable, but still affordable options out there for my customers. The Dell PowerEdge T160 has been a great little unit for me in terms of lower cost, decent CPU/RAM spec’s, physical hardware RAID with a battery backed cache maxing out at 63TB (though I don’t get it that high because I use two smaller drives for the OS in addition to 3 3.5″ drives in RAID 5 for the repository), and all in a fairly small form-factor. There’s even a filtered bezel option for when it’s placed in those more dusty environments – and I have a few customers that are more in the manufacturing/industrial environments where there is some dusk. If I need something with more capacity in a rack-mount configuration, I tend to go towards the PowerEdge R260/R360, or R470/R570 if I want the newest 17th generation hardware and a higher drive-density/larger drives for larger repositories. I used to go with the T500 or T600 series servers in a rack-mount configuration for larger repositories (unless a Tower config was fine) but Dell has removed that option as I think it was less popular. Now, the closest you can get to a larger tower server is the T360 but it’s maximum drive capacity is actually lower at 128TB than the R470 and R570 at 245TB and 491TB respectively. In this case, I’m using a T160 with two 480GB SSD’s in a RAID 1 mirror for the OS, and three 8TB SATA HDD’s in a RAID 5 for 16TB of usable repository space. Wrap that up with a 7-year ProSupport warranty to cover any possible hardware failures and this unit honestly has been rock-solid for me and affordable for my customers.
Disclaimer: I work as a Dell Partner, and while this does sound a bit like an advertisement, there is no sponsorship here — I just really like Dell servers after using them for the past 20+ years – they have always been reliable and treated me right!

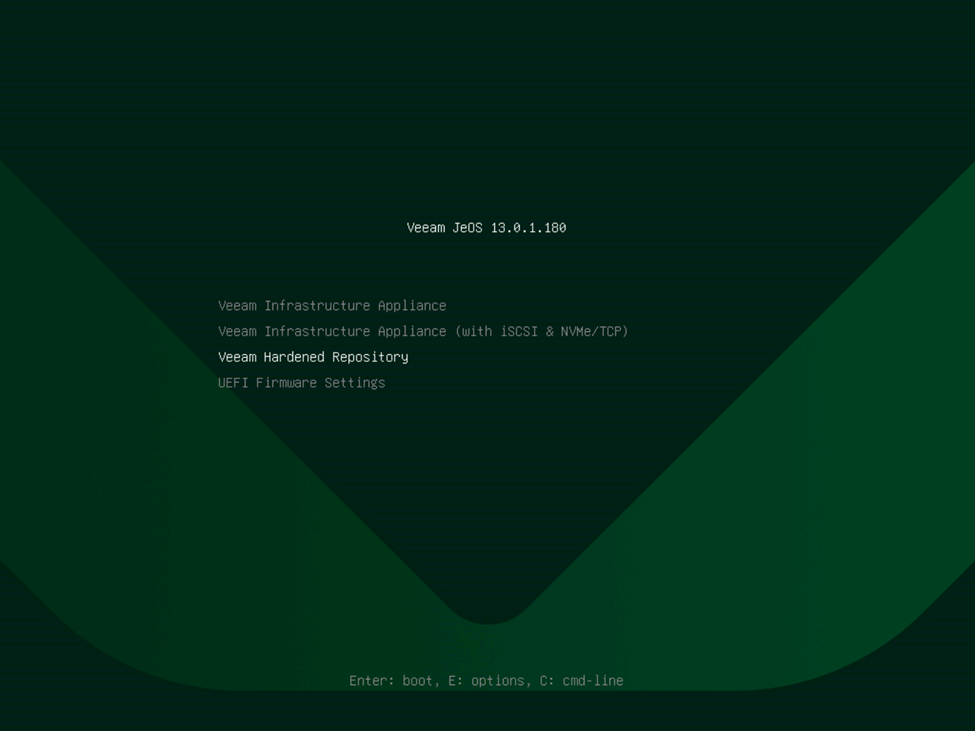
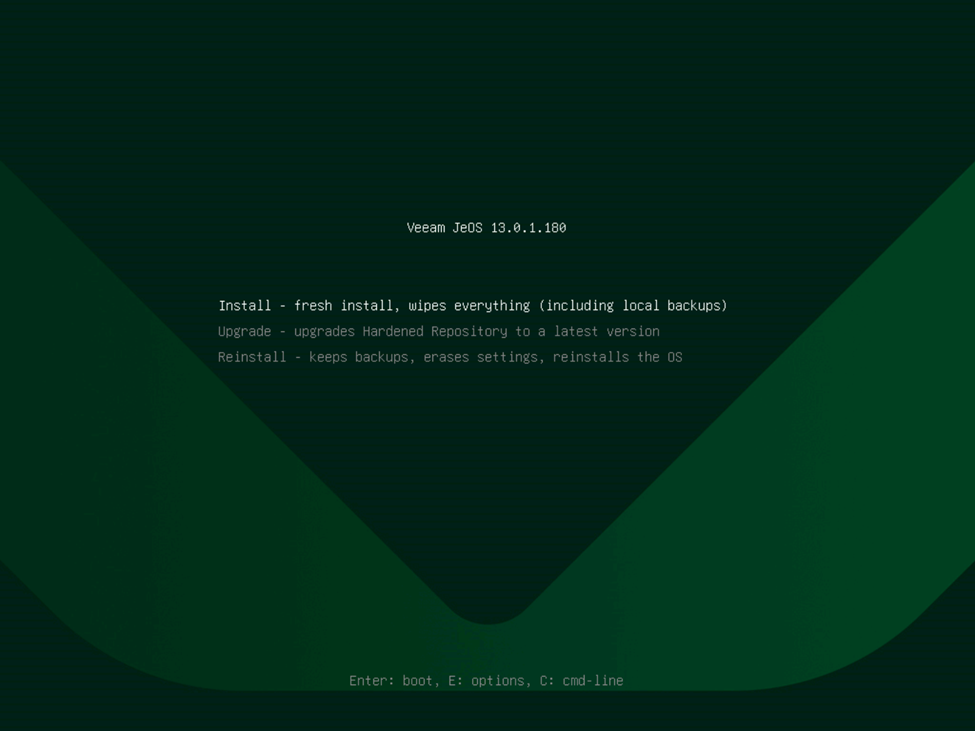
First of all, download the Veeam VIA (Veeam Infrastructure Appliance) ISO. This is the lightweight ISO that contains the JeOS (Just-enough Operating System) used for Veeam components including the VHR, but also for other components such as standard linux repositories, proxy servers, etc. This is NOT the full install of VBR, but is instead only the required components to create these complementary appliances. That said, this also complements the linux-based Veeam Software Appliance (VSA) quite well for a linux-only deployment of VBR. Burn the ISO to a thumb drive (remembering to use DD Mode if using RUFUS) or mount the ISO to the virtual console of your physical server. I do recommend in most cases using a thumb drive as I’ve found that sometimes mounting virtually causes for slow boot times and have seen some timeouts if you’re performing this process over a VPN. Once booted, you’ll be presented with this new JeOS boot loader, so of course be sure to select the “Veeam Hardened Repository”. In our case, this is a fresh install, so select as such. I did want to note however that there is an option to repair an existing VHR just like there was on v2, but also there is an “Upgrade” option as well which is intended to upgrade old versions of the VHR, including the v2 appliance. While the v2 appliance did receive an update making it compatible with VBR v13, it doesn’t take advantage of the Veeam-managed OS updates the the v13 VIA/VHR performs. Wait for the OS to boot.
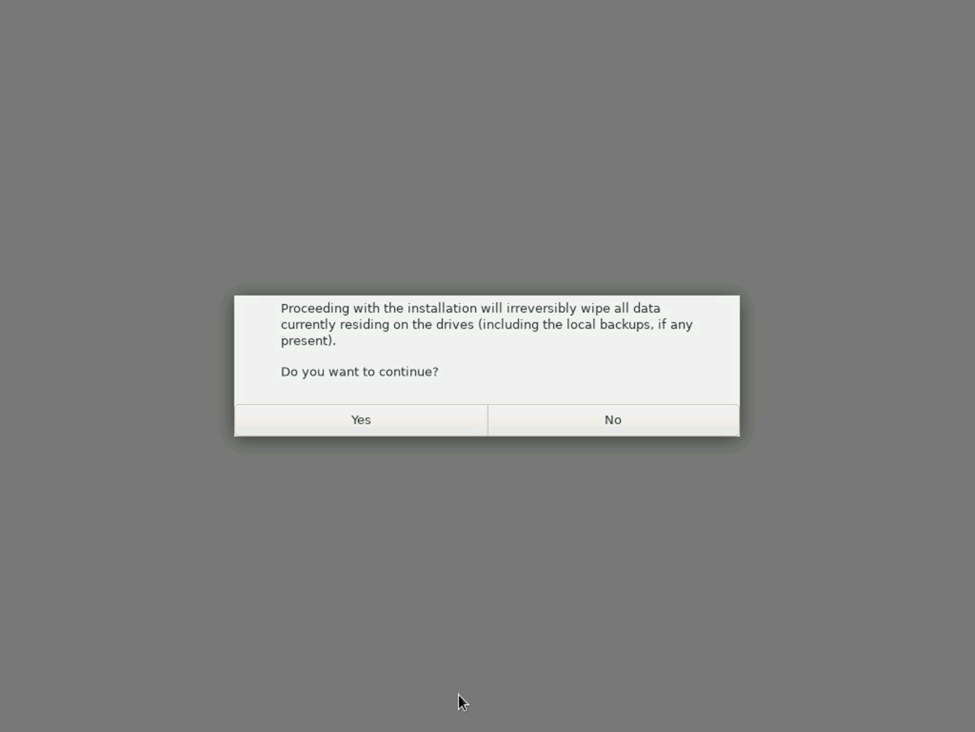
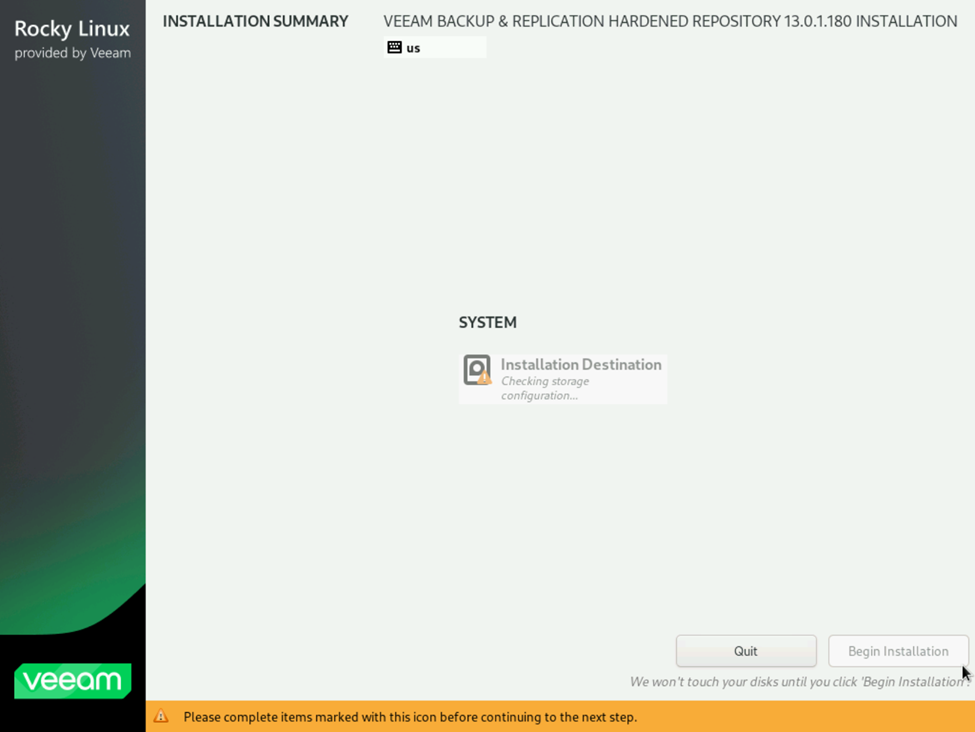
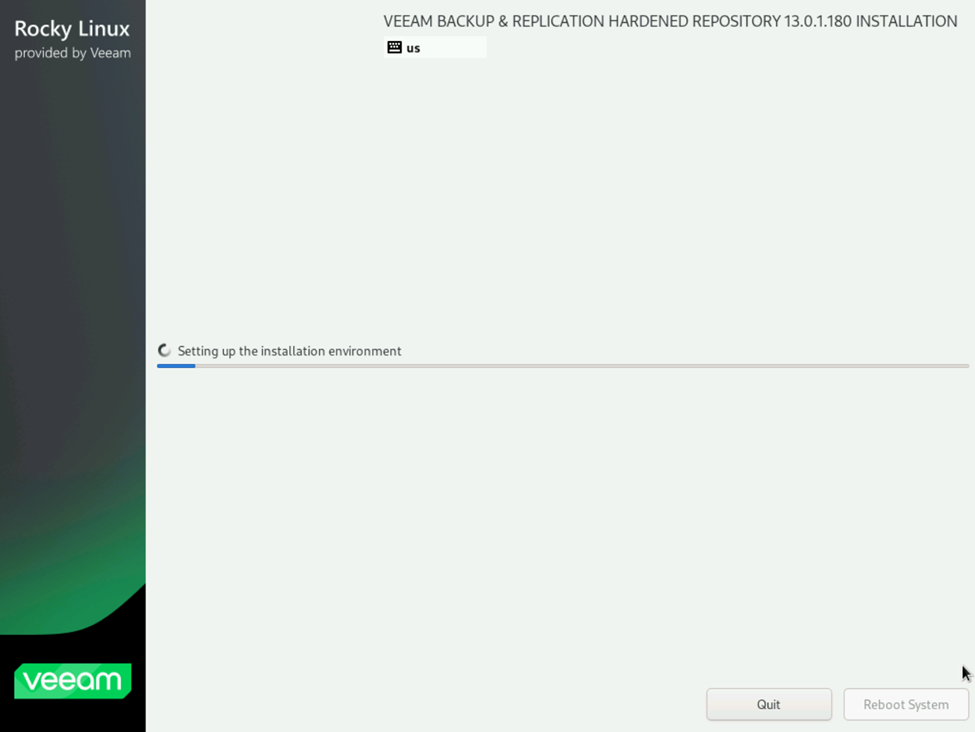
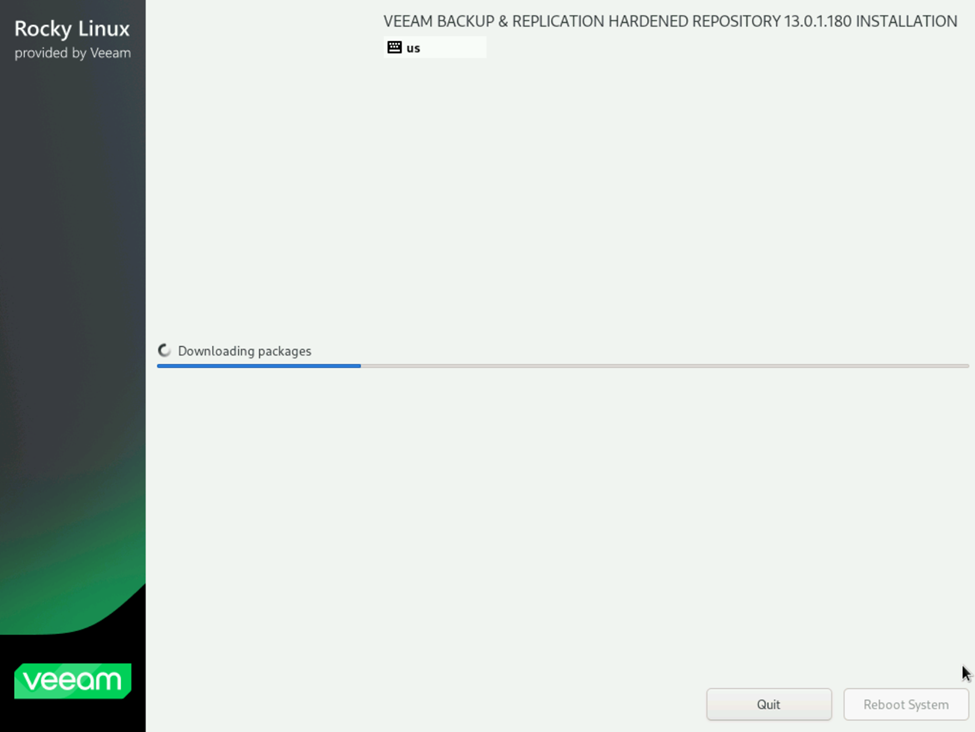
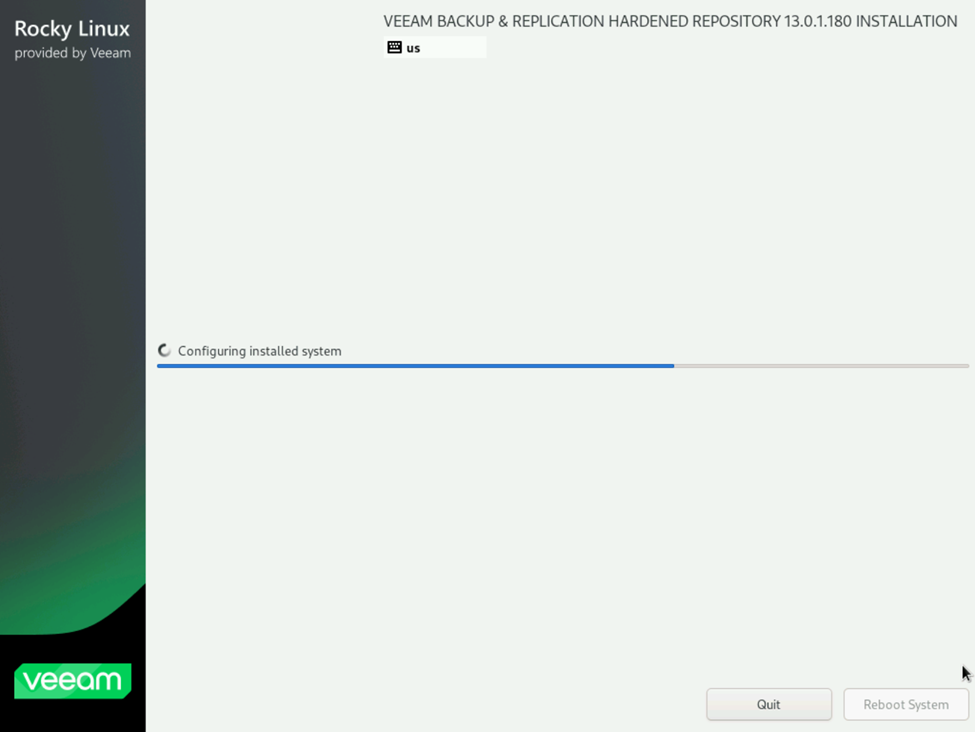
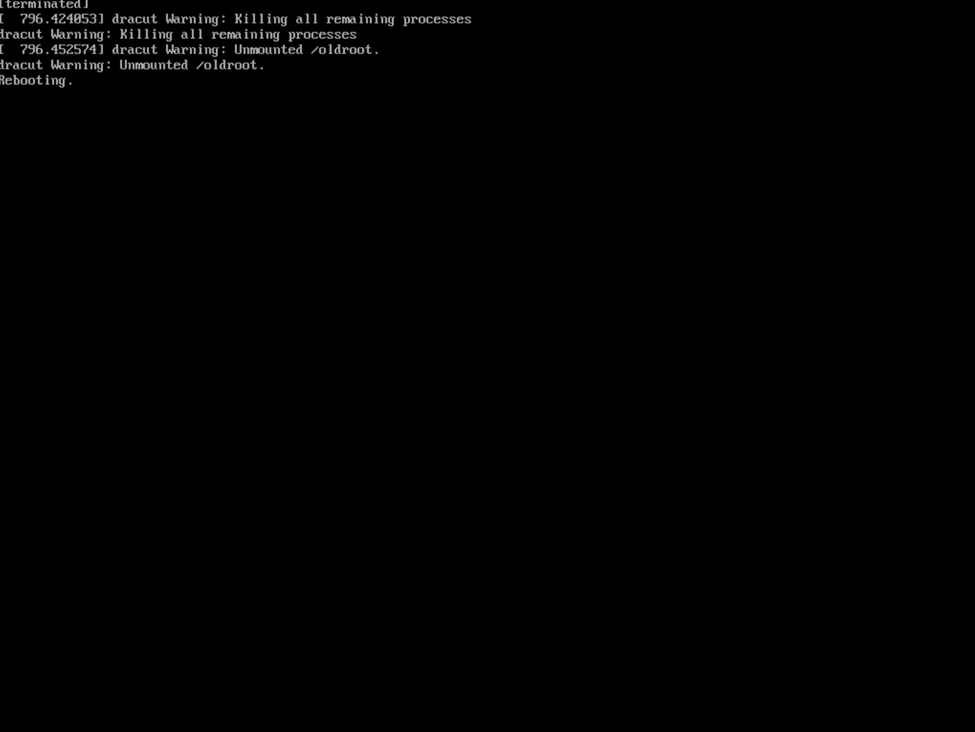
This is where things begin getting different from the v2 VHR ISO deployment. Rather than walking your through all of the settings initially, you’ll be presented with a single screen early-on. It simply asks you if you want to deploy a new VHR, warns that data on the server will be wiped, you select “Yes”, and select “Begin Installation” and away you go. No longer do you perform things like selecting your preferred language, assigning configuring your network, providing your time settings, etc. Veeam will run a startup script to automatically verify that you have the proper hardware configuration (drives, RAM, etc — in my case, I had forgotten to configure my RAID volumes so I had to do this twice), and designated the smaller drive for the OS and larger for the repository, and proceed with configuring the drives and downloading and deploying the required packages. After the OS is deployed, the system will unmount and reboot automatically. It’s a truly hands-off approach to deploying the environment for the VHR.

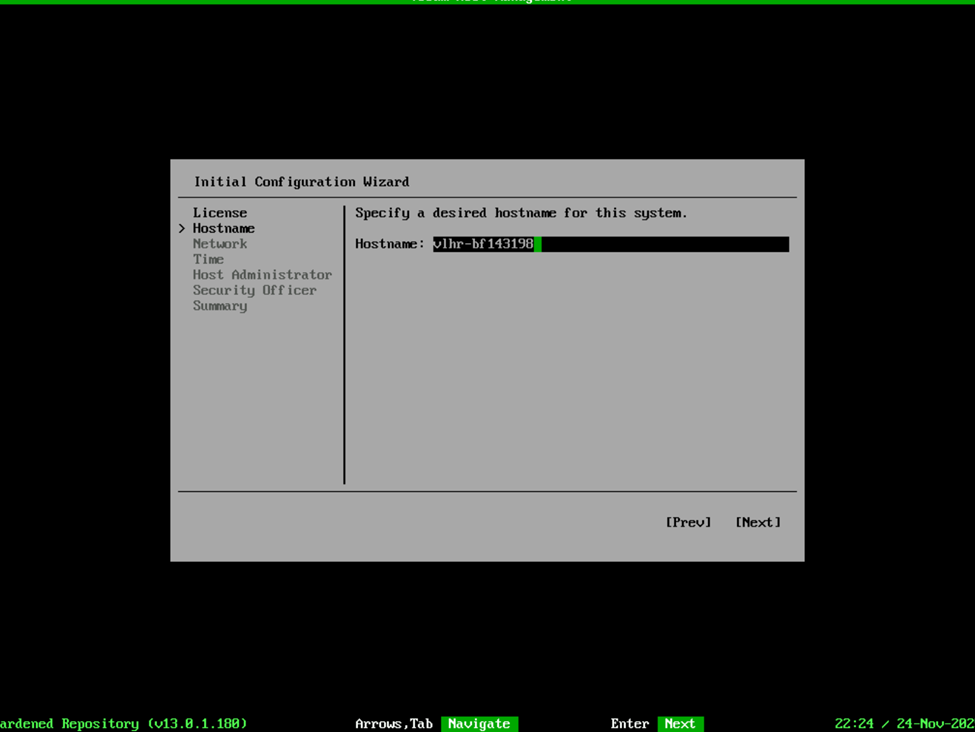
After the OS reboots, it’ll start the appropriate host management services where you will be prompted to accept the licensing agreements and now you will begin configuring the appliance starting with the Hostname, Networking, etc.


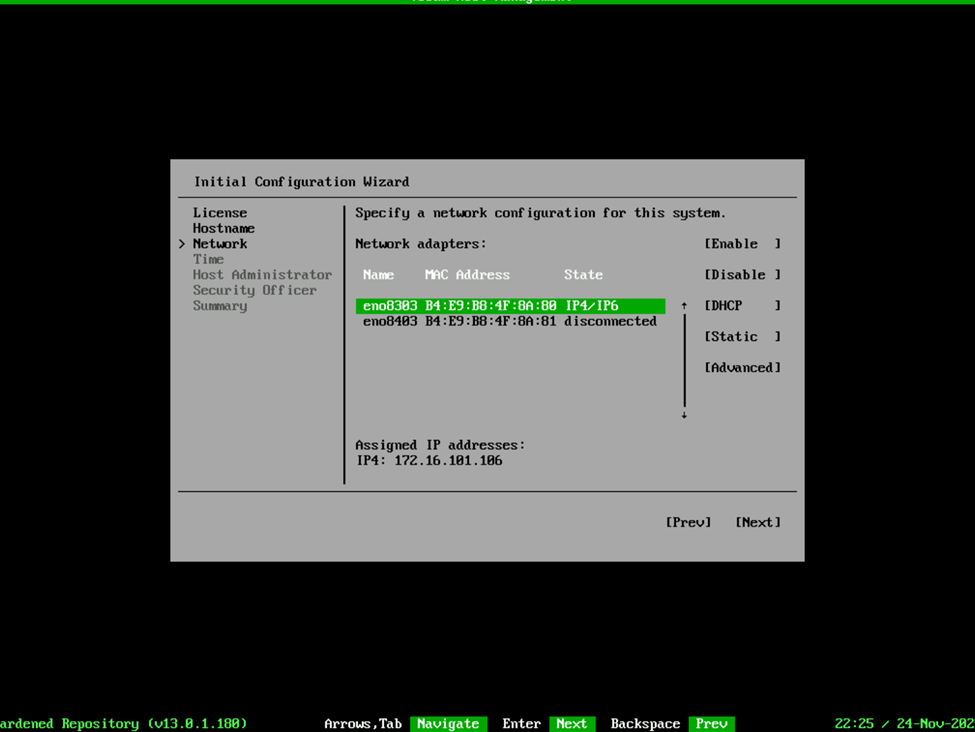
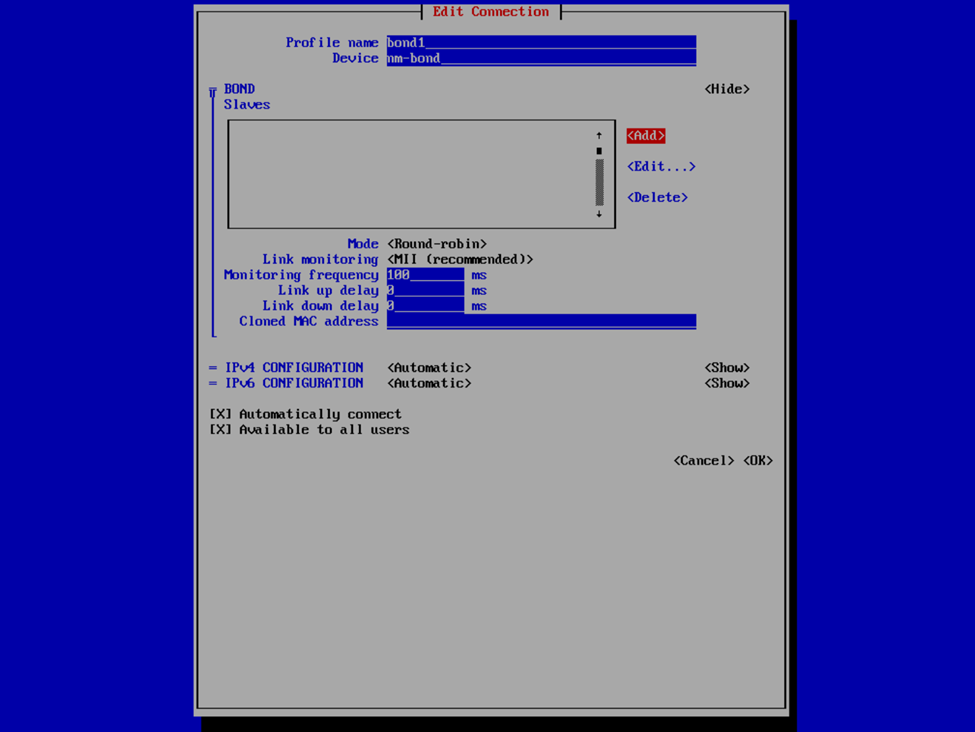
And oh the networking….this is where things got a bit more complex for me. On the v2 ISO deployment, you were able to list the network interfaces and select them. This is still the case, unless you are planning to create a network bond. I’ll explain, but for the moment, you’re going to want to write down the name and MAC address of each network interface you plan on adding to the bond, because it’s not so “point and click” this time. In this case, armed with the network interface information, we’re going to select the Advanced option and in it, we’re going to Select Add > Bond > Create.

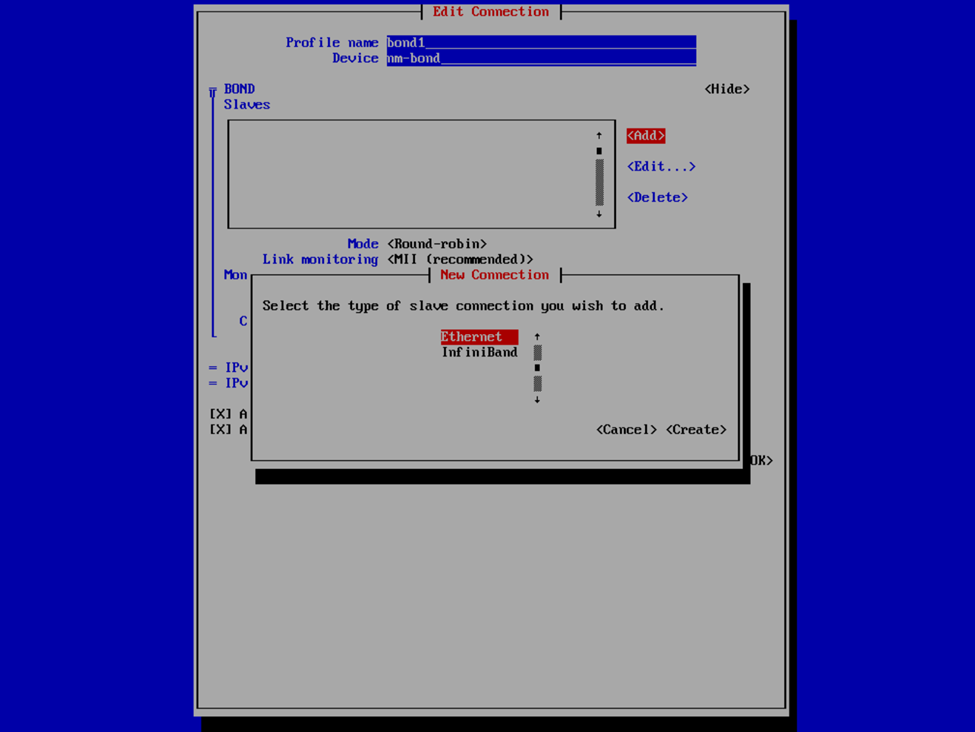
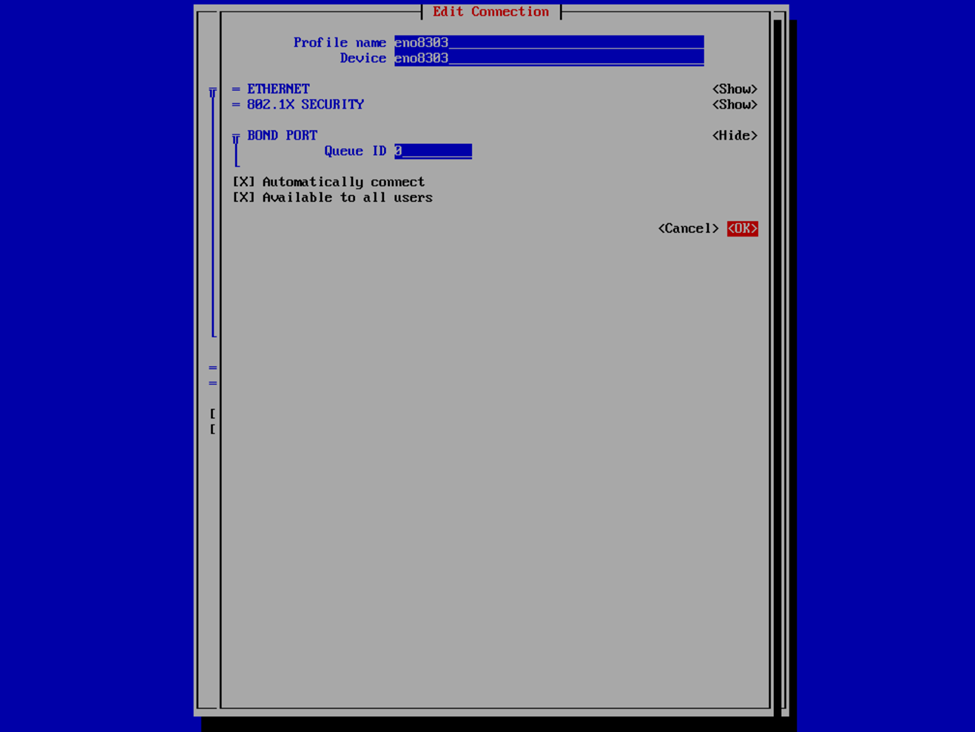
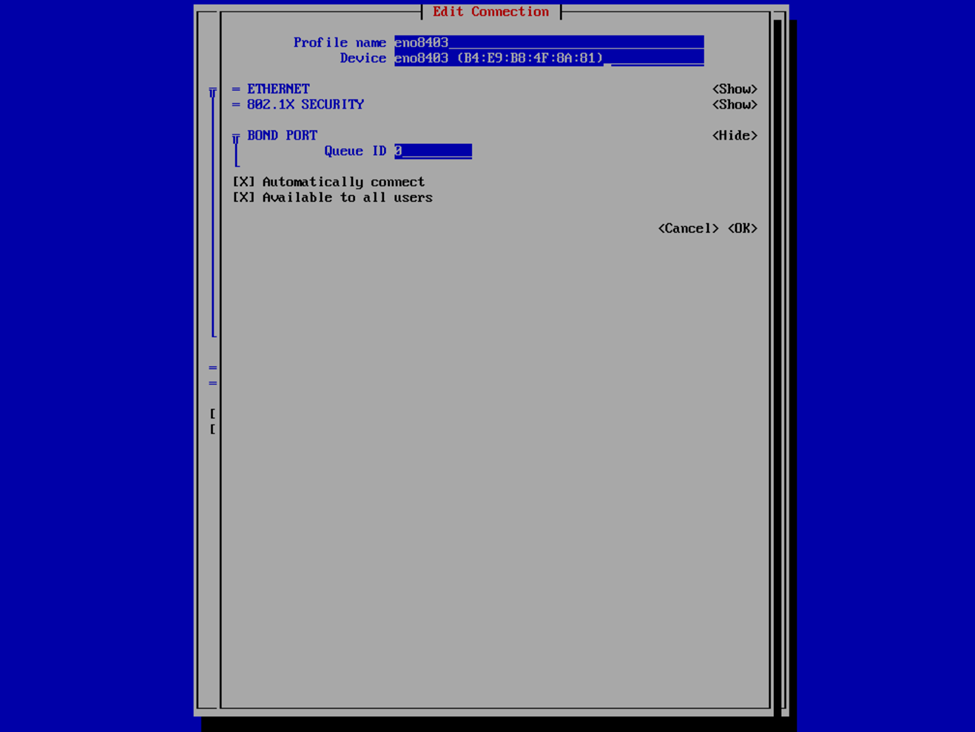
If you’re familiar with this process, it’s not all this dissimilar as with the v2 VHR ISO, except just slightly less user friendly. Provide a profile and device name for your bond interface, or accept what it provided, and then select Add > Ethernet to specify the interfaces that are to be a member of the bond. This is where we’re going to provide the the interface and device name and MAC address that we have previously noted. Select OK and then repeat for any additional interfaces.
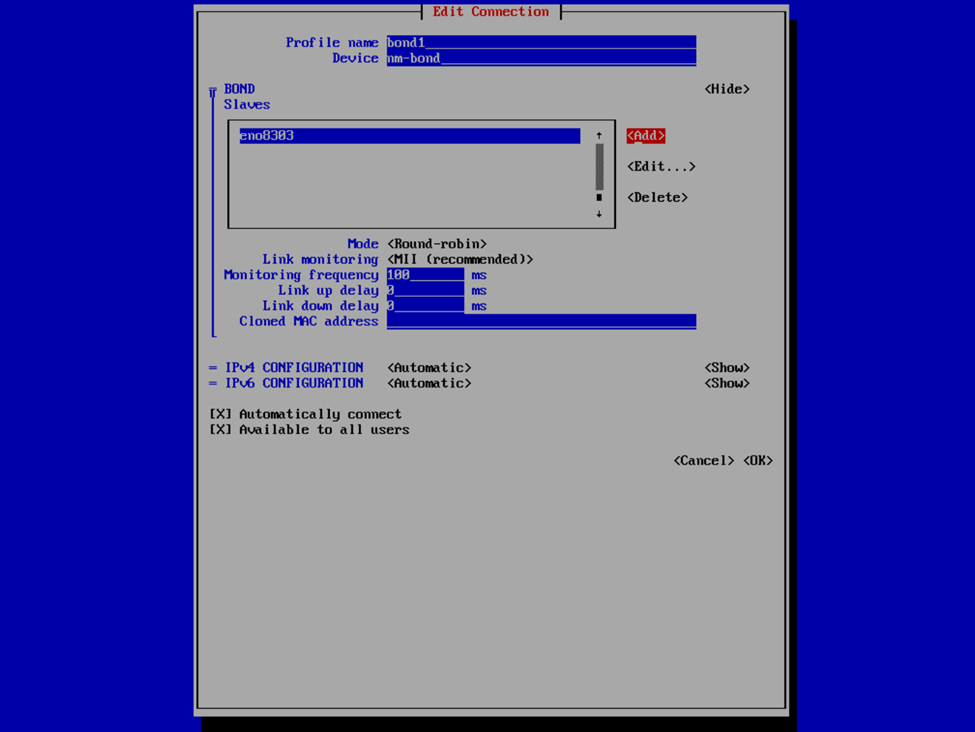
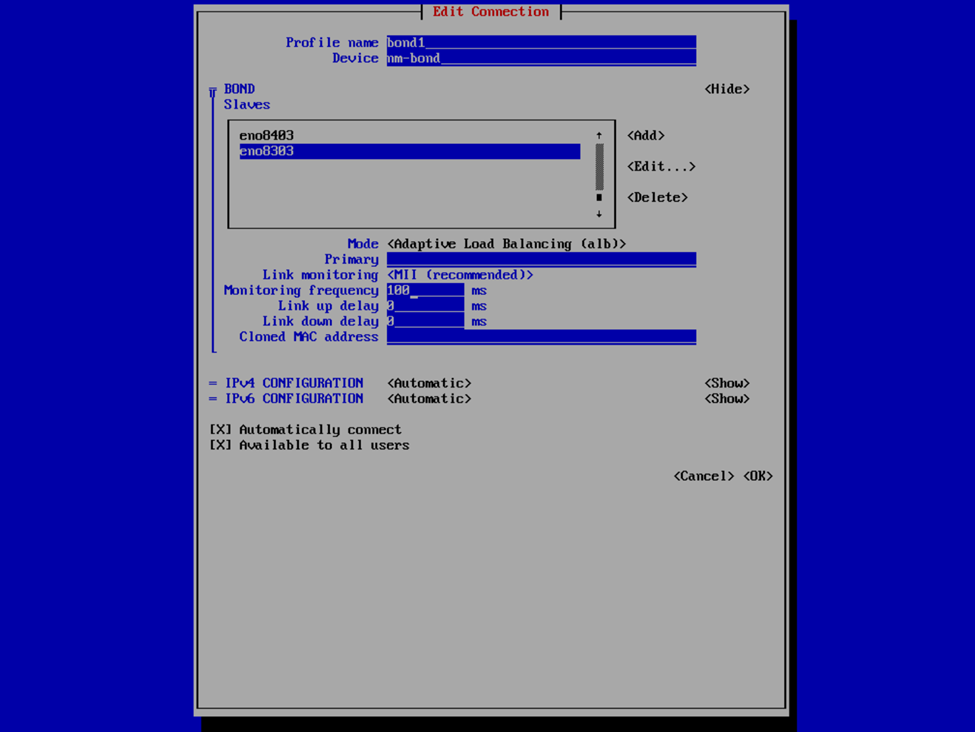
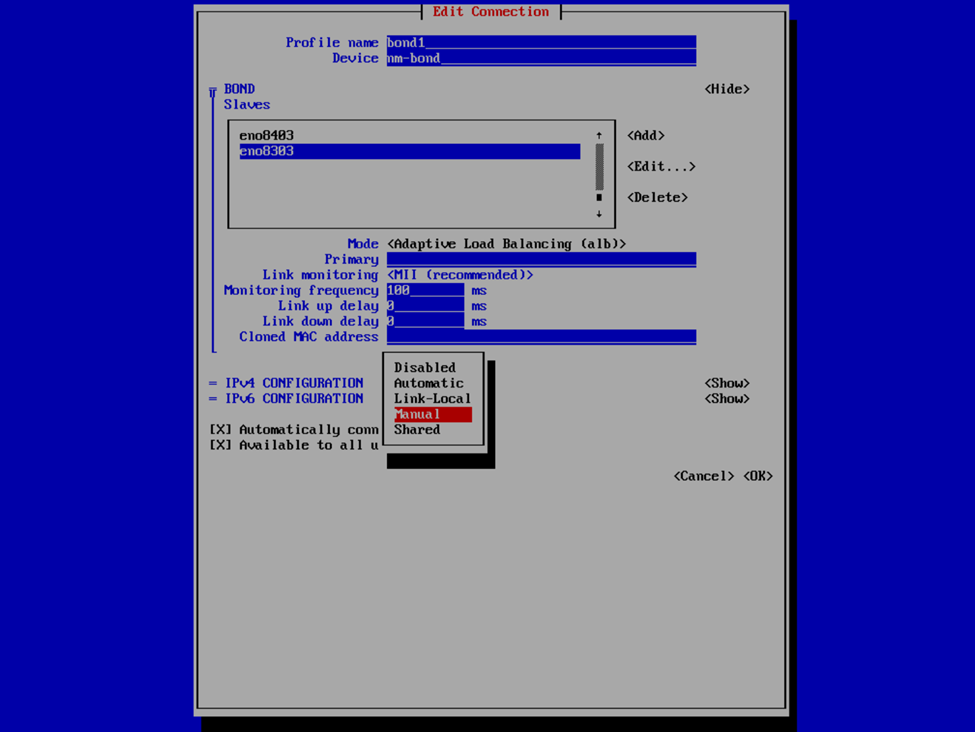
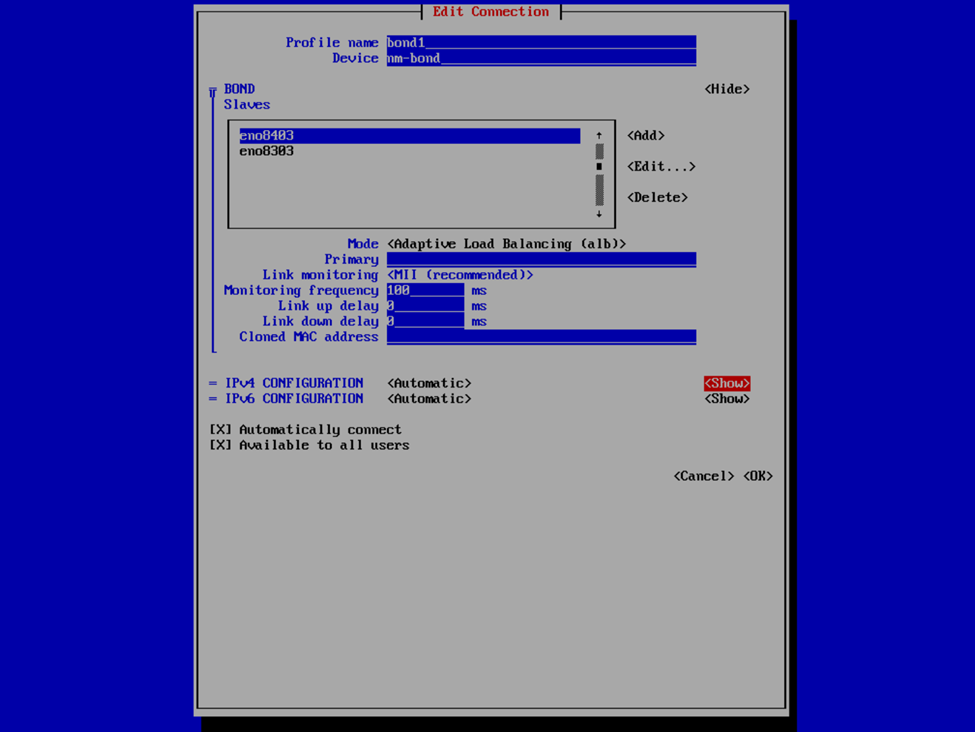
Now that we have the interfaces specified, select your bond mode. I’m a fan of Adaptive Load Balancing (ALB) because this is switch independent (as in, no switch configuration is required such as if you were creating a port channel), provides redundancy, but also link aggregation. Others may prefer an Active Backup mode for redundancy. We can also provide our IPv4 and IPv6 information. Usually I set the IPv4 to Manual to provide a static IP address and Disable IPv6. In this case, I left it at Automatic because I was staging this VHR to go to a remote client site and I didn’t know what the IP was going to be yet, and since this was my first time deploying the v13 VHR, I wanted to validate that I created the network bond correctly and that it would reliably start the interface on reboots, etc. In my case, that involved running pings to the appliance and then unplugging and plugging back in each of the network interfaces to validate that the connection failed over or wasn’t interrupted and that each port responded correctly. After I completed my deployment, I also validated that the bond interface started and was available after reboots as well as that is something I’ve experienced in the past with the v2 ISO in which I had an interface that wasn’t configured to start automatically.
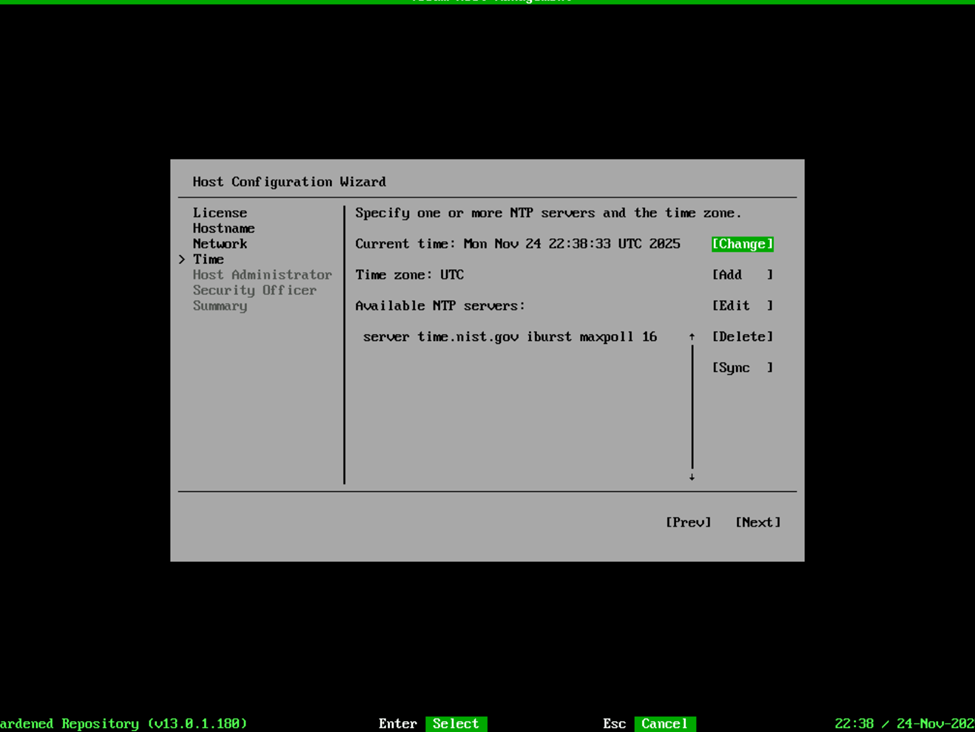
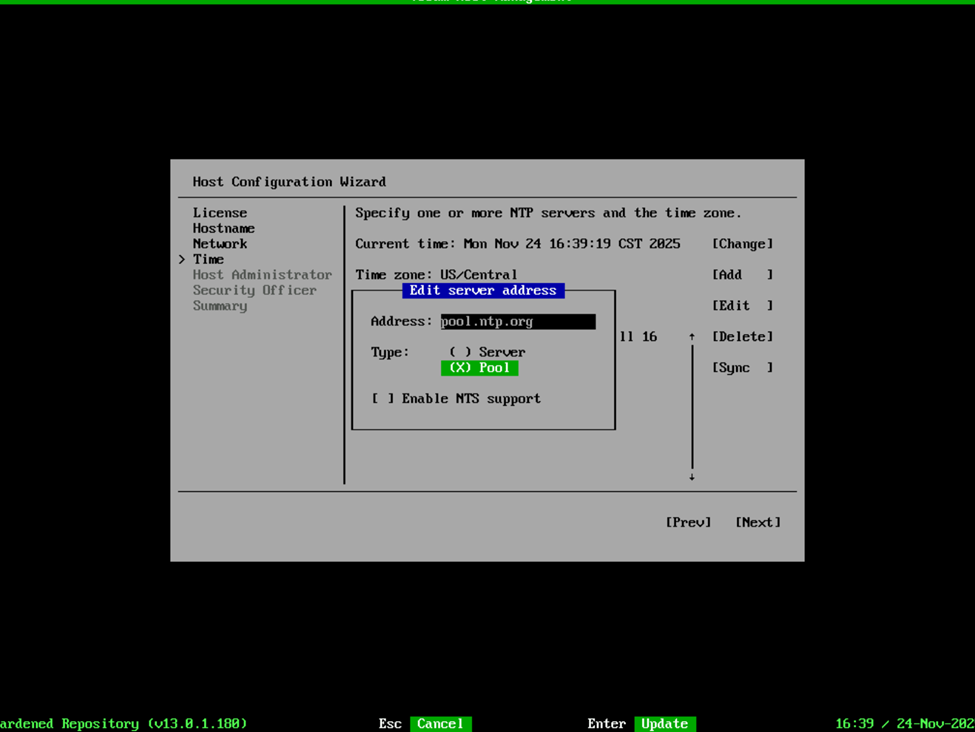
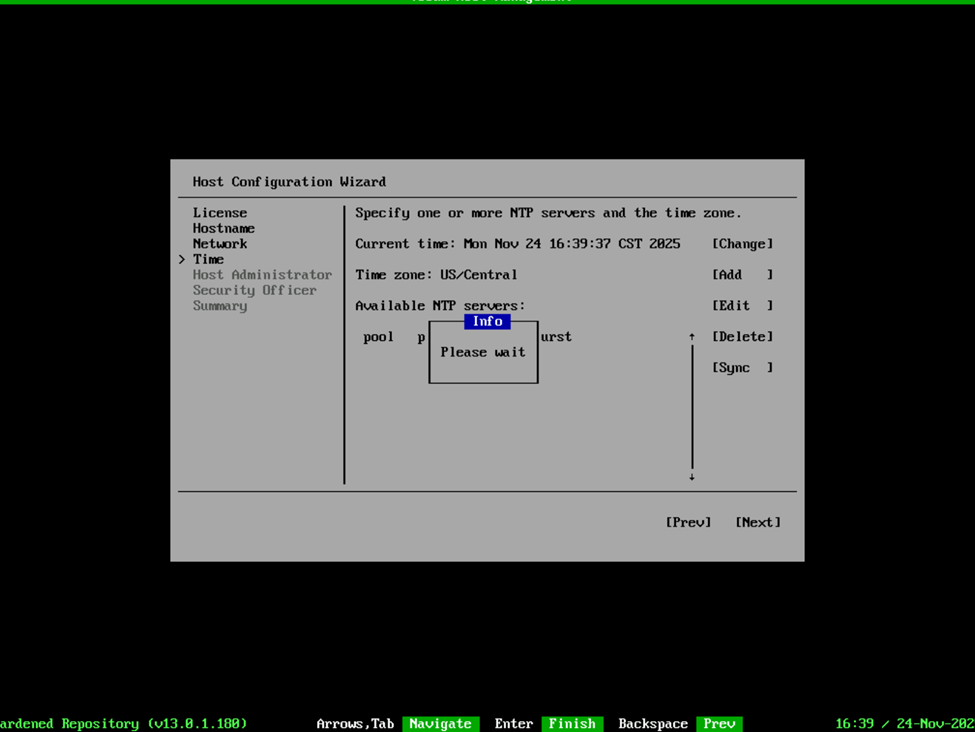
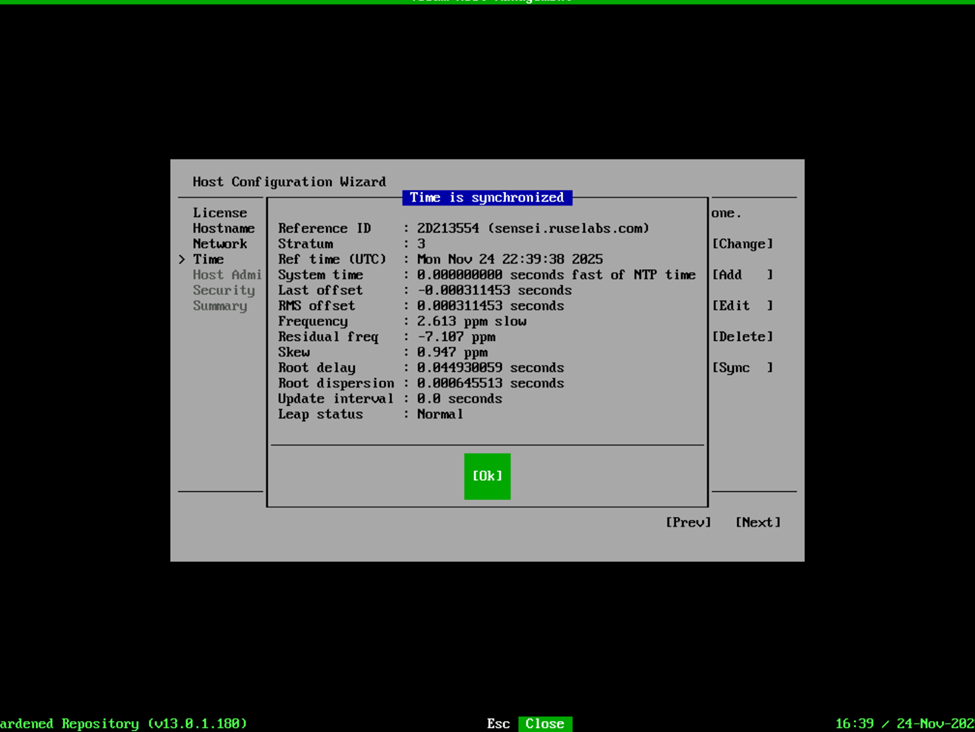
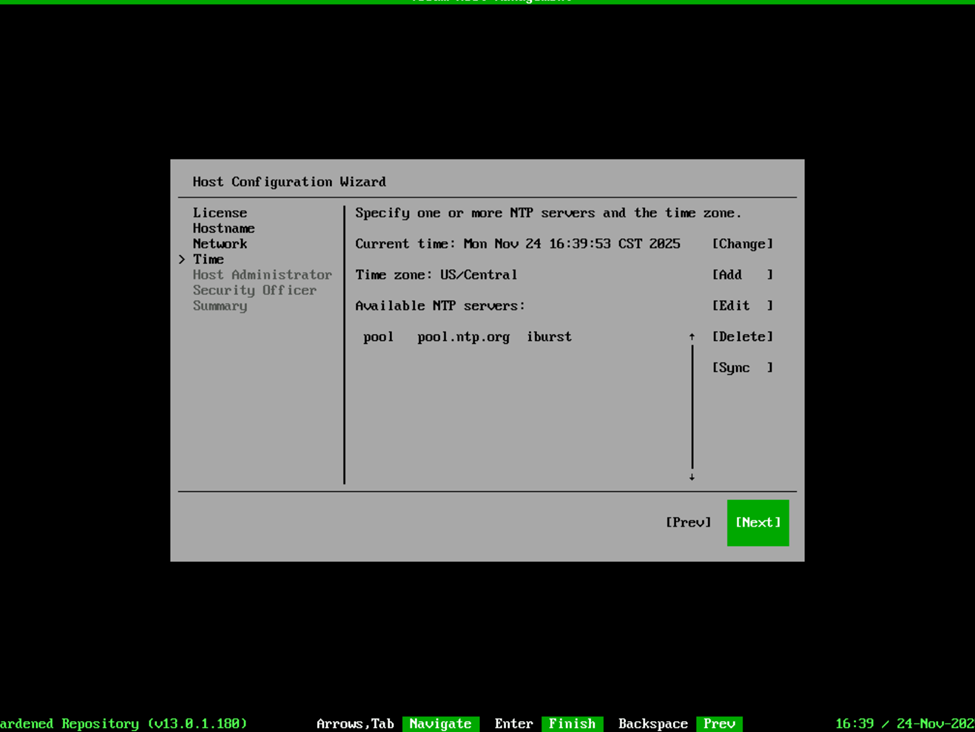
Once we’re over that hurdle, we can configure the Time settings such as the NTP server, Time zone, etc. In my case, I like to use pool.ntp.org so I selected Change, provided the server URL and noted that this was a pool. I also selected edit so that I could change my Time zone to US/Central, and then selected Sync to validate my settings were working properly. Then Next to move on to the Host Administrator.
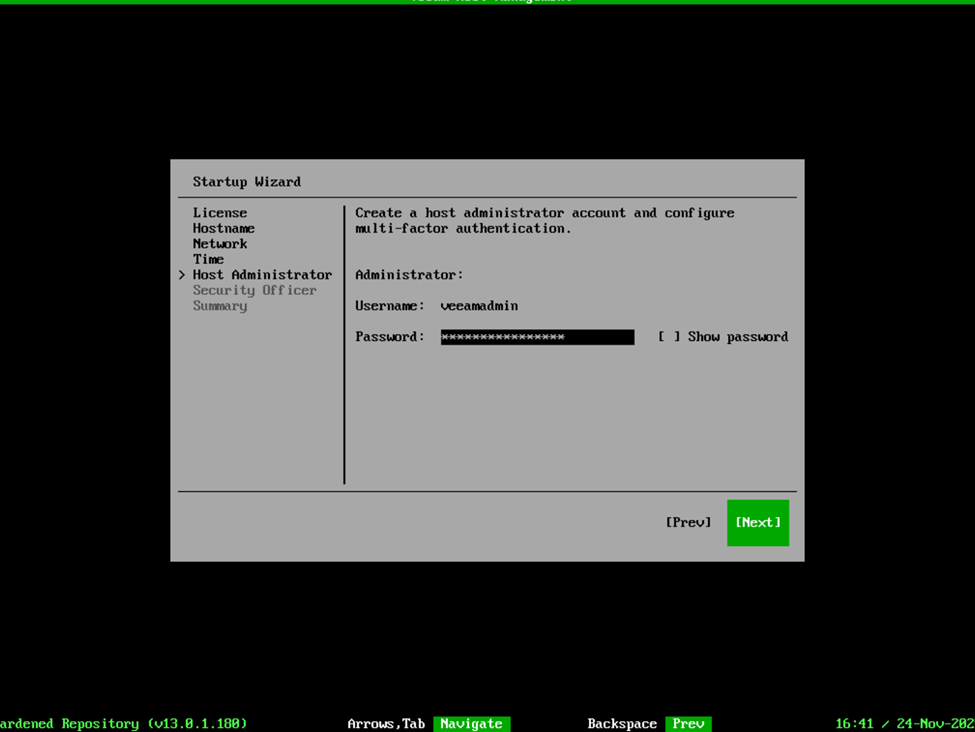
Next up, create a password for the default “veeamadmin” account. Note that this still requires a DISA STIG compliant password. After providing the password, you will need to enroll in MFA.

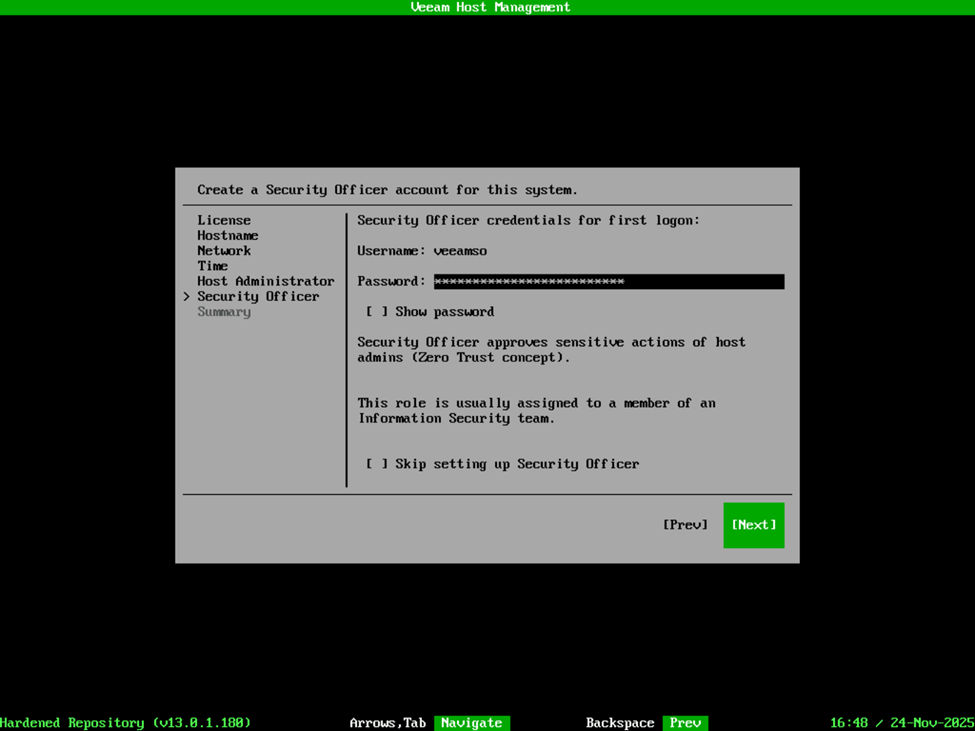
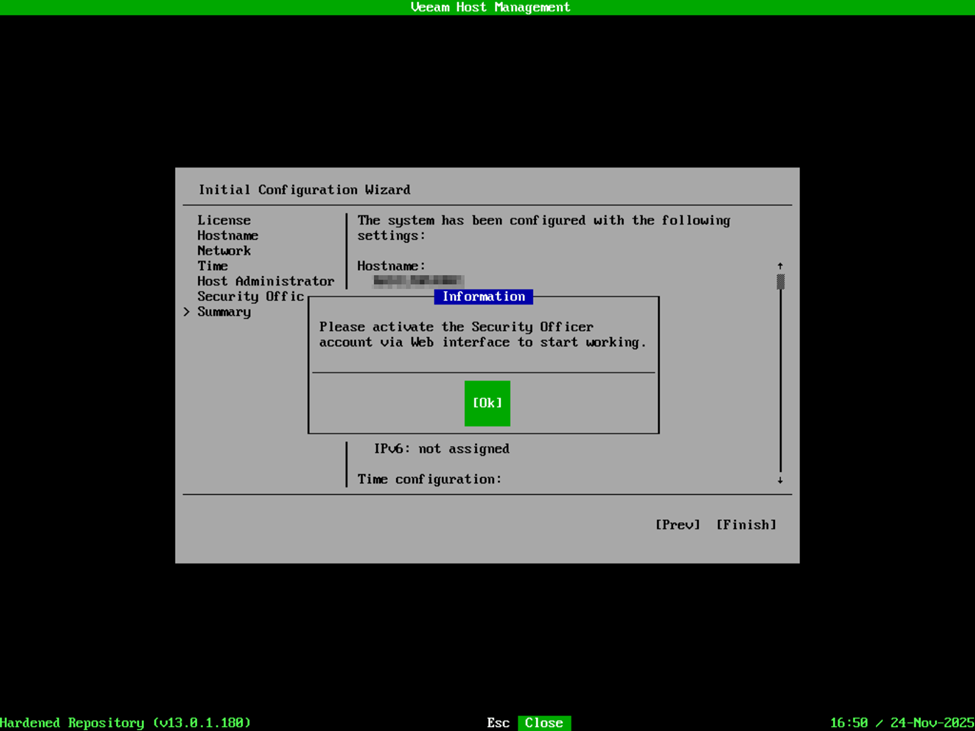
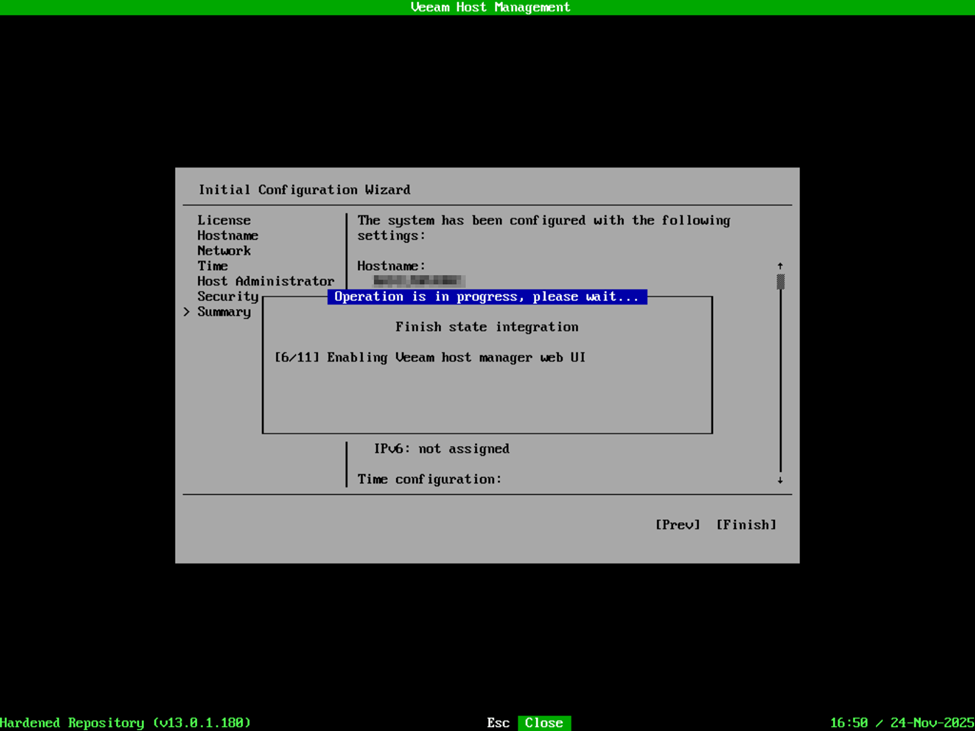
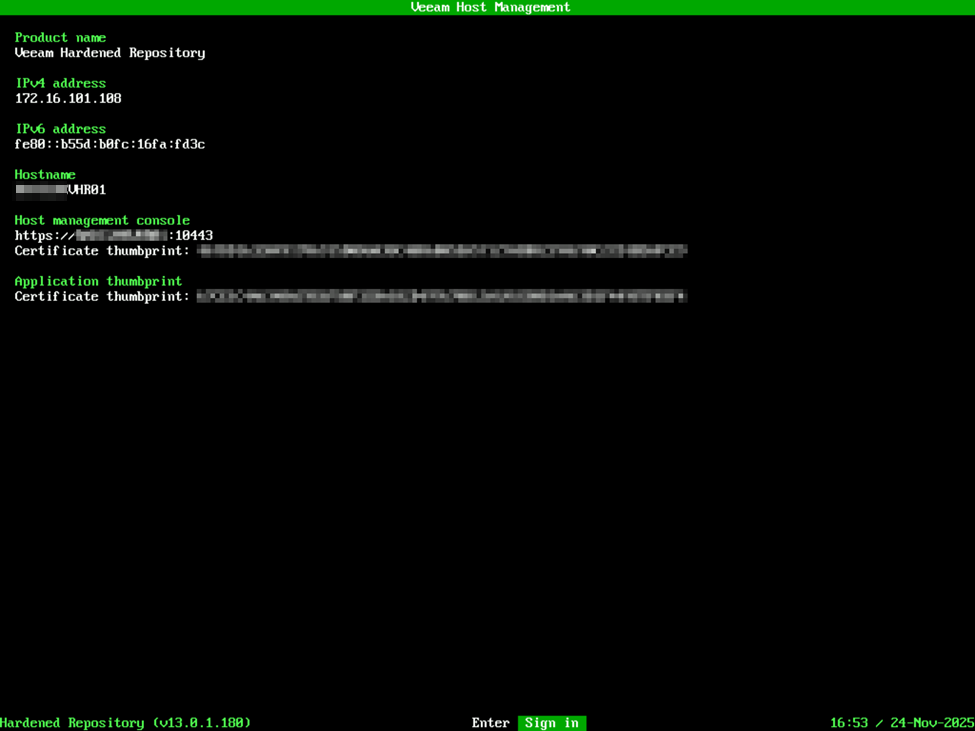
Security Officer is a new role that Veeam added with VBR v13. This function performs a few things – one is that it enacts the four-eyes type of verification for changes to the VBR environment. For instance, certain changes to the appliance configuration, or to the VBR deployment as a whole will require verification by the Security Officer account if deployed. In the case of the VSA, the Security Officer role is option but cannot be added after the deployment has been completed. I will say, don’t get married to your password for this account. This is an initial password to complete the deployment/configuration of the VHR, but after the VHR is deployed, the first time you log into the appliance management interface, it will require a password change and MFA enrollment. At this time, the password you’re supplying is simply for the initial setup and configuration, but it does require the password to also be DISA STIG compliant. After providing a password, confirm your configuration is correct on the summary page and select Finish. At this point, it’s going to remind you that you will need to log into the appliance management web interface with the Security Officer account to activate the login, and then you will see the appliance configure itself and activate the required services. After everything is complete, you’ll be presented with the Host Management interface which summarizes the Product Name/Role of the appliance, IP addresses, and certificate keys along with the host URL for accessing the host management web interface.

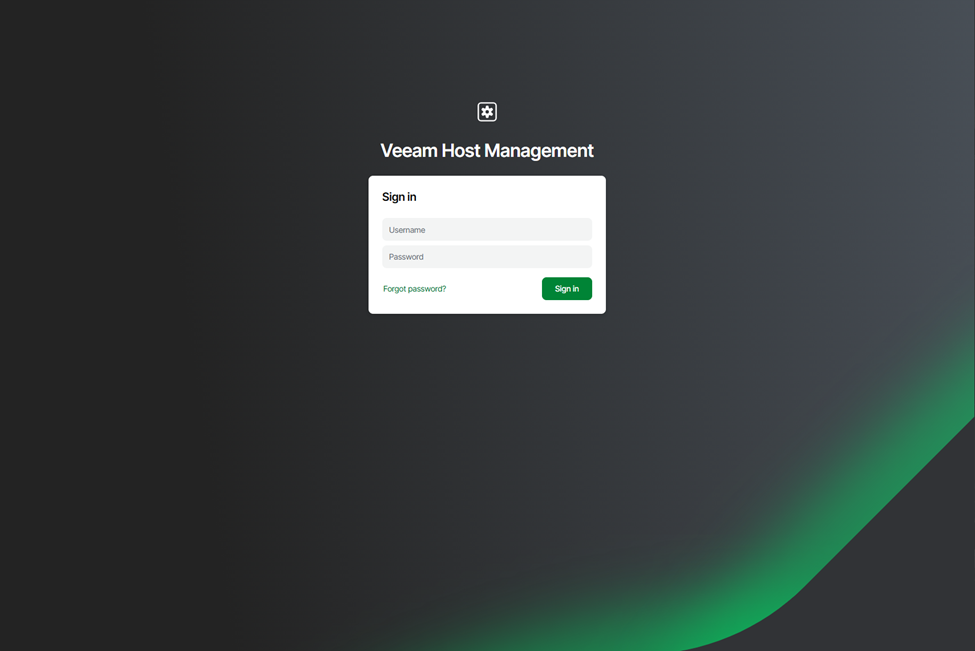
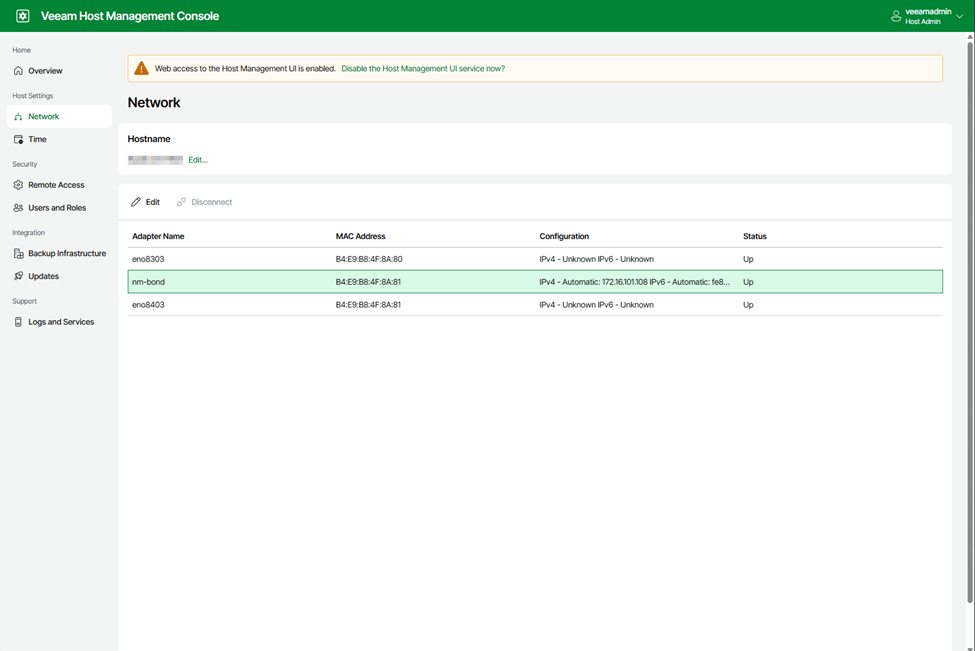
When visting the Host Management Web interface at the specified URL, https://IPADDRESS:10443, you can log in with the veeamadmin account to view the properties of the appliance. In my case, when selecting the Network tab, I’m presented with the physical network interfaces as well as the network bond. Some changes can be made here such as the IP address, etc, but note that you cannot add or remove interfaces from here, so if you wanted to setup a network bond and didn’t, you’d need to re-deploy the appliance to make that change.
NOTE: Make sure you also log in with the veeamso account to activate the Security Officer account in which you will be prompted to change the password and activate MFA.
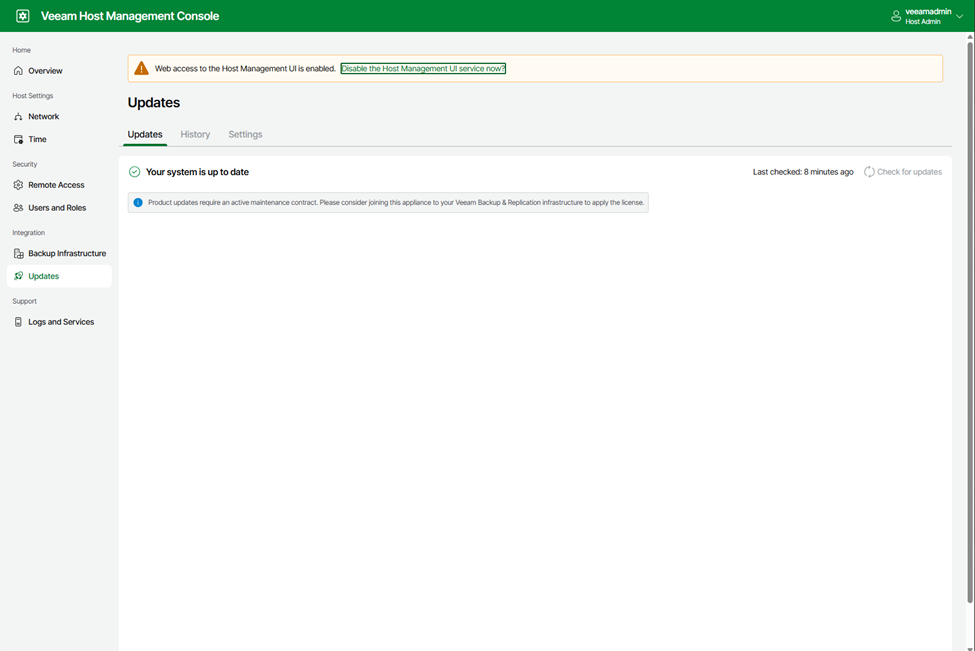
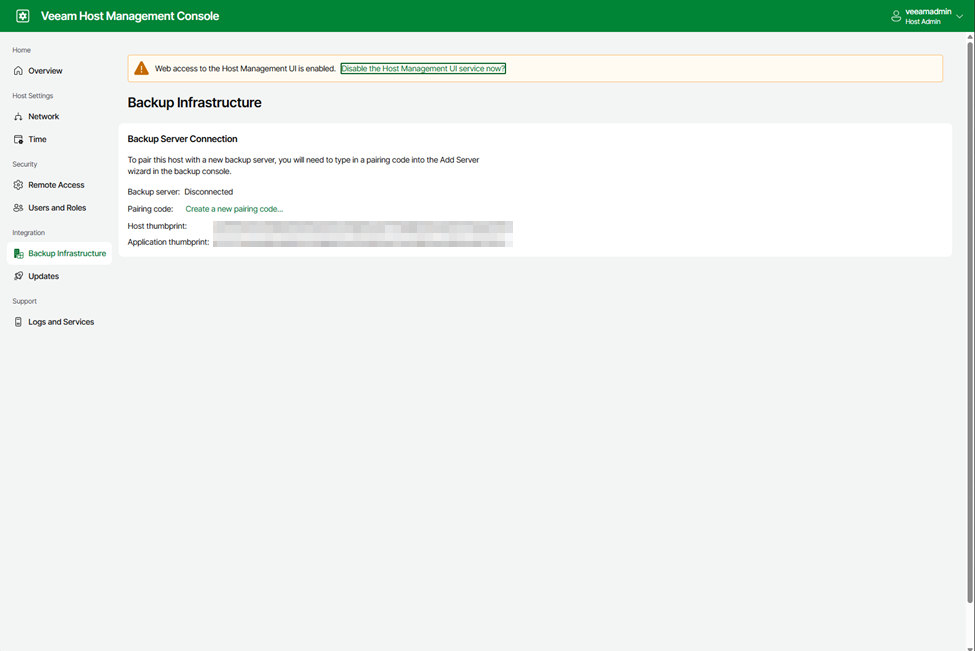
Now that the VHR is deployed, I would recommend visiting the Updates tab to check for any available updates before proceeding any further. Next, add the VHR to your VBR server as a hardened repository. One of my favorite features about VBR v13 is that security is increased by use of certificate-based authentication rather than using preshared usernames and passwords. In the case of the VHR (and any other servers that utilize the VIA deployment) is that after it is deployed, it will wait for a connection from the VBR server to be added automatically without having to provide credentials. Simply verify that the certificate thumbprint presented in VBR when adding the repository server matches the thumbprint display on the Host Management summary at the console or in the web interface under the Backup Infrastructure tab. If for some reason there is an issue, or you want to regenerate the certificate key, you can do so via the Host Management web interface. This would also be where you would need to go if you were wanting to break the link between the VHR and your VBR server if you needed to connect it to a different VBR server for some reason. Note that this is one of the functions that requires four-eyes verification by the Security Officer, however.
At this point, enjoy your new hardened repository complete with automatic update management, all very much welcomed features added with VBR version 13!